


Introduction
Arduino, an open-source platform, has revolutionized the world of electronics and programming. It offers endless possibilities for creative minds to experiment and bring their ideas to life. One such exciting application is creating animations using Arduino. In this article, we will delve into Arduino animations and explore the potential of this fascinating technology.
The Versatility of the LED Matrix Display
The LED Matrix display has become increasingly popular due to its ability to showcase various types of information and animations. In this article, we will explore the different applications and possibilities of this display, as well as how to utilize it effectively.
Displaying Information and Animations
The LED Matrix display, made up of 12×8 LEDs, offers the opportunity to display a wide range of information. For instance, upon restarting the Arduino board, you will witness the startup sequence of Tetris-like pieces filling the screen and forming the iconic heart shape. This display can be used to showcase not only animations but also indicators such as battery life, signal strength, or volume levels. Additionally, warning icons and lock symbols can be easily displayed to visualize any potential issues.
Utilizing the Arduino Library
To control the LED Matrix display, the Arduino website provides comprehensive documentation. By simply including the appropriate library, defining the Matrix object, and calling the begin function, you can effectively use the LED Matrix display. This process is straightforward and can be easily implemented in your Arduino IDE.
The Limitations of the Display
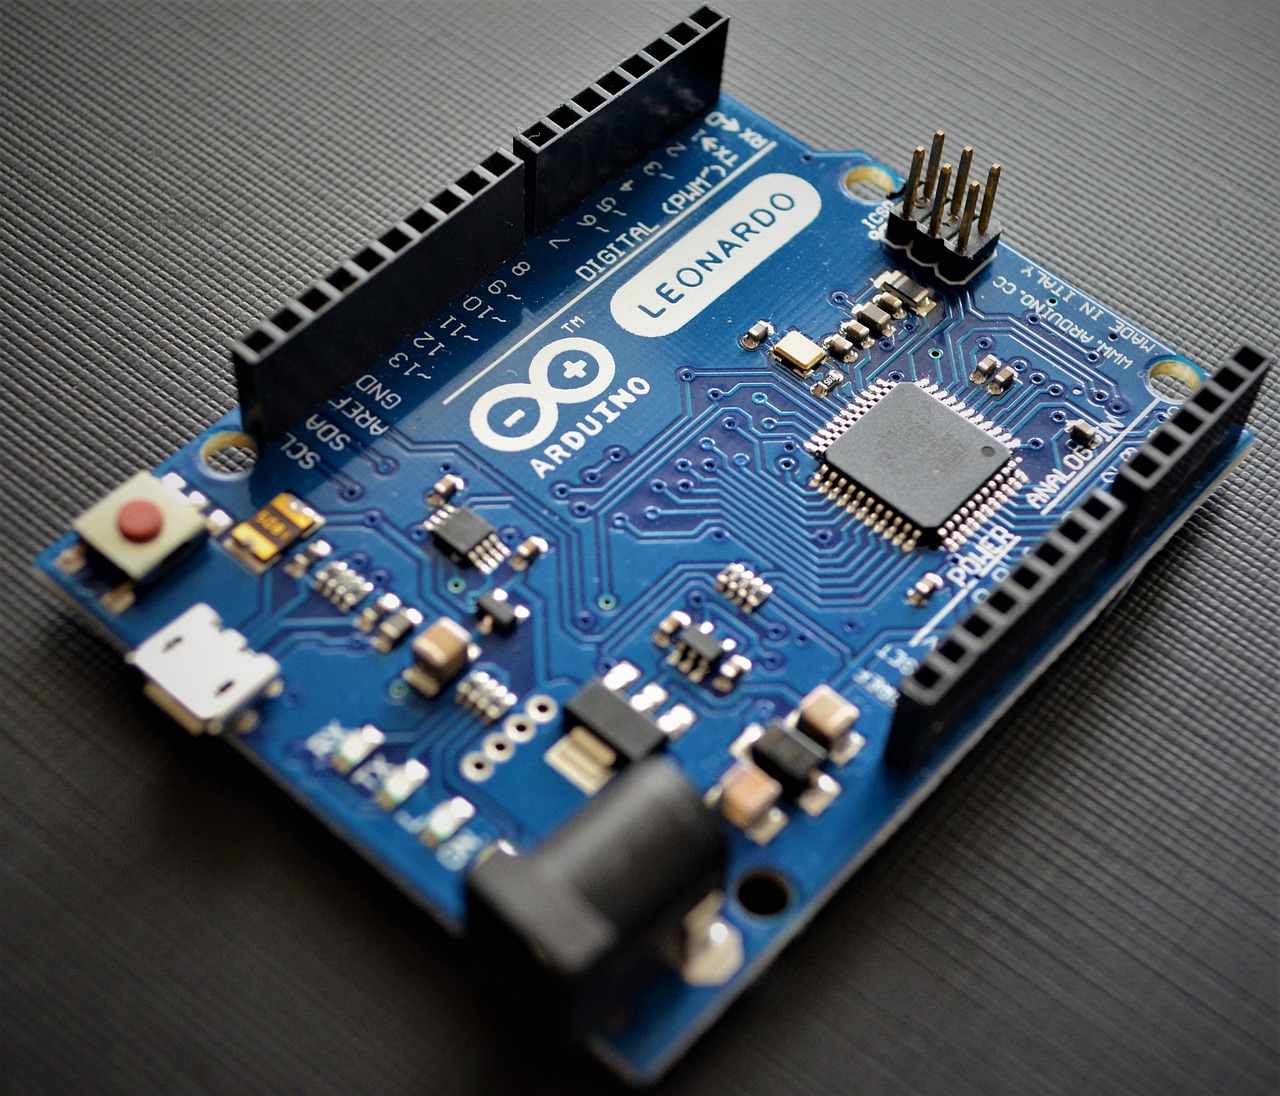
It is important to note that the LED Matrix display is only compatible with the Arduino Uno R for Wi-Fi. It is not supported by the non-Wi-Fi board, the Arduino Uno R4 Minima. Therefore, it is crucial to ensure that you are using the correct board for your project to avoid any compatibility issues.
Creating Custom Animations
The LED Matrix display offers endless opportunities for custom animations. With a bit of programming knowledge, you can design captivating visuals such as the animated Arduino logo, loading animations like arrows or circular patterns, or even music visualizers. These animations can add an extra layer of appeal to your projects and make them more engaging for viewers.
How to Optimize Memory Usage for LED Displays
LED displays are widely used in various applications, whether it be for decorative purposes, informational signage, or even in wearable technology. However, when it comes to programming LED displays, optimizing memory usage can be a challenge. In this article, we will explore different methods to efficiently store and visualize LED icons, allowing you to maximize memory resources and enhance performance.
The Traditional Approach
Traditionally, storing individual LED pixels was done by assigning one byte per LED. This method works fine for simple applications. However, it can be quite inefficient in terms of memory usage.
For example, let’s consider a heart icon consisting of 80 individual LEDs. Storing each LED as one byte means we are using 80 bytes of memory, even though each LED has only two states – on or off. This results in unnecessary memory wastage.
A Binary Solution
An alternative approach to optimize memory usage is by using long variables to store LED data. By converting the LED states into binary format, we can significantly reduce memory consumption.
For instance, taking the heart icon as an example again, we can represent each LED’s state as a 0 or 1 in a long variable. Converting this long variable to binary format will yield a series of zeros and ones, representing the LED states. This binary representation allows us to store multiple LEDs in a single long variable, reducing the number of variables required.
While this method does save memory, one drawback is the loss of visual representation. Viewing the binary notation may not provide an intuitive understanding of the final icon. Manually splitting the binary code into separate lines is necessary to visualize the actual LED icon.
An Efficient Solution
To overcome the limitations of the binary approach, a more efficient solution is to utilize arrays. By using arrays, we can store LED data in a structured and manageable manner.
For example, instead of storing LED data in long variables, we can create an array where each element represents a line of LEDs. Each element can be further divided into individual LED states, allowing for easy visualization and manipulation of the LED icon.
This method not only optimizes memory usage by eliminating unnecessary variable declarations but also provides a more intuitive way to work with LED icons. By accessing and manipulating elements within the array, you can easily modify the LED states and visualize the resulting icons.
Using the LED Matrix editor to simplify image creation
When searching for the number one on the LED Matrix display, it becomes evident that the image cannot be seen from the long variables provided. However, there is a useful tool called the LED Matrix editor which simplifies the process greatly.
Controlling individual LEDs with the mouse
Upon opening the LED Matrix editor, it is clear that the user can control individual LEDs or pixels using the mouse. This means that one can draw images on the LED Matrix display effortlessly.
Creating simple animations
The LED Matrix editor offers the ability to create simple animations by adding frames and drawing on each frame. Multiple frames can be added to enhance the animation. By clicking on the play button, the animation can be previewed, and any changes can be made until the desired results are achieved.
Downloading C arrays and timing information
Once the desired image or animation is created and finalized, it can be downloaded using the code icon. In addition to the C arrays for individual pixels, the download also includes timing information. This timing information can be used to set the duration of each individual frame in the animation.
Using a different animation editor
While the LED Matrix editor is a powerful tool, there are other animation editors available for creating more complex animations. The author mentions the use of an online Sprite editor called piscal in a recent video about Led Badges. The piscal editor offers a range of functions and is a preferred choice for the author.
Resizing for the Arduino Uno LED Matrix display
To begin creating an animation on the LED Matrix display of the Arduino Uno, it is necessary to adjust the image size in the editor. The first step is to navigate to the resize tab and select the resolution of 12 by 8 pixels, which matches the LED Matrix display on the Arduino Uno. After selecting the desired size, clicking the resize button will resize the canvas to the correct dimensions.
The Power of White and Transparency
When it comes to creating digital designs, the choice of colors can greatly impact the visibility and overall aesthetic of the artwork. In this case, the writer has decided to change the color to white for better visibility. Additionally, by keeping the background color transparent, it allows for a seamless integration of the design into various mediums.
Using the Pencil Tool for Precision
In order to achieve the desired effect, the writer opts to use the pencil tool. With this tool, they are able to draw white pixels by simply using the left mouse button. On the other hand, by using the right mouse button, they can delete these pixels, effectively creating a design with a transparent color. This eliminates the need to constantly switch between tools, making the design process more efficient.
Creating Simple Animation
Adding animation to a design can bring it to life and make it more engaging for viewers. As an example, let’s consider the Arduino logo. To keep things simple, the writer decides to animate the logo by deleting parts of it. By doing so, the logo gradually transforms and forms an animation.
Step-by-Step Animation Process
To start the animation, the writer begins by drawing the logo on an infinite loop. They then proceed to delete certain parts of the logo in a strategic manner. By hovering over each frame, clicking the duplicate frame button, and jumping to the previous frame, the animation progresses smoothly.
An Animated Preview
As the writer makes changes to the design, they are able to instantly see the animated preview on the right side of their workspace. This preview provides a glimpse of how the small animation will appear, allowing for quick adjustments and improvements.
Continuing the Animation
To further develop the animation, the writer duplicates a frame once again, jumps to the previous frame, and deletes two pixels. It is worth noting that these pixels appear semi-transparent due to the “anion skinning” feature, which displays the content of the previous and next frames. While this feature may not be particularly helpful in this scenario, it showcases the versatility of the design software.
In this way, the writer is able to continue forming the animation, gradually deleting parts of the logo to create a smooth and captivating visual experience. By utilizing the power of white and transparency, along with the precision of the pencil tool, they can bring their digital designs to life in an efficient and aesthetically pleasing manner.
The Art of Animation: Creating a Mesmerizing Infinite Loop
Animating frames and manipulating pixels can be a captivating experience, especially when it comes to creating mesmerizing infinite loops. In this article, we will explore the process of duplicating frames, deleting pixels, and exporting animations, with the goal of producing a visually stunning reveal animation.
Duplicating and Deleting: The Building Blocks of Animation
The first step in creating our infinite loop animation is duplicating frames and strategically deleting pixels for added effect. By duplicating frames and making calculated jumps, we can create a visually pleasing animation that seamlessly loops.
To begin, let’s duplicate a frame and delete a few pixels to initiate movement. By selectively deleting pixels, we can control the flow and speed of the animation. For example, deleting two pixels in one frame and slowing down by duplicating the next frame can create an engaging visual experience.
Perfecting the Loop: Duplication and Deletion Techniques
To achieve a seamless loop, we need to carefully duplicate and delete frames with precision. By duplicating the second previous frame and deleting specific pixels, we can create a smooth transition that appears infinite when played repeatedly.
Experimenting with the number of pixels to delete and the frames to duplicate can add variations to the animation. Whether it’s duplicating three frames or five frames, finding the perfect combination is the key to a captivating infinite loop.
Adjusting Playback Speed and Duration
Playback speed plays a crucial role in the overall impact of the animation. While the default FPS (frames per second) of 12 might suit our needs, adjusting the speed can create different visual effects. Slowing down the animation can enhance the sense of depth and detail, while speeding it up can inject energy and excitement.
If desired, we can also extend the duration of the last frame for a more dramatic effect. Duplicating the final frame multiple times gives viewers ample time to appreciate its intricacies, heightening the visual impact of the loop.
Exporting the Animation: Choosing the Right Format
Once we are satisfied with our loop animation, it’s time to export it and share our creation with the world. Clicking on the save icon allows us to provide a meaningful name for our animation file.
When exporting, selecting the appropriate file format is crucial. In this case, we want to export it as a C file, which will preserve the individual pixel values. By opting for the C file format, we can manipulate the pixel values further as needed.
Upon downloading the C file and opening it, we will find all the individual pixel values encoded as rgba values. To simplify the representation, we can replace the 0x000 values with ‘zero’ and the ffff values with ‘one.’
By making these replacements, we transform the rgba values into a binary representation, consisting only of zeros and ones. Selecting one instance of ‘one’ will highlight all occurrences, making it easier to modify the code as required for future use.
The Importance of Array Conversion in Arduino Sketch
Understanding the 2D Array
Inside this array, we can observe the animation. Therefore, we can assume that it is suitable to be used within an Arduino sketch. Let’s proceed by copying the array into our Arduino code. Instead of using an integer type, we will set the type to be byte. The name of the array can remain the same. It is important to note that this is a 2D array. The first dimension consists of individual frames, while the second dimension contains individual pixels. On the other hand, our frame also functions as a 2D array. However, the dimensions in this case are represented as X and Y values.
Converting the Animation Format
Prior to displaying the physical animation, it is necessary to convert it to the correct format. To achieve this, let’s create two additional variables. The first variable, frame current, will have an integer data type. By default, its value will be set to zero. The second variable, frame Max, will also be of integer type and will represent the maximum number of frames in our case, which is 14. You can find this information in the application. As you scroll down, you will notice a total of 14 frames. Now, before displaying the frame array’s content, let’s populate the pixels using the values from the other array. Within our loop, we will increment the value of current frame using the expression frame current++. If the frame current becomes greater than or equal to the frame Max, we will reset it back to zero. Therefore, the frame current should always be zero at the start.
Creating the Frame Array
To create the frame array based on the content of our piscal array, we will need to use two loops. The first loop will be for the X value, initializing an integer variable X as 0. While X is less than 12, which is the number of pixels in the horizontal direction, we will increase X by 1.
Creating the Y Values
Next, we will create another loop for the Y values. Here, we will initialize an integer variable Y that should go between 0 and 8.
Setting the Content of the Frame Array
Now, we want to set the content of the array frame. Looking at the content, we can observe that the first value is 8 and the second value is 12. This indicates that we should use a Y value for the first index and an X value for the second index.
Using the Array Content and Index Calculation
To retrieve the content of our array, we will use the values from our piscal array, which is called R4 and infinite Loop data. In this case, the first index of the frame array will be the current frame. So, frame current will be our first index.
The second index will be the pixel index, which we can calculate as Y times 12 plus X. Wrapping the calculation in brackets is optional but recommended.
Adding a Delay for Optimal Frame Rate
Although this loop will run as fast as possible, it might be too fast for practical use. To address this, we can add a small delay. The delay is measured in milliseconds.
If we want to achieve a frame rate of 20 frames per second, we can calculate the delay by dividing 1000 (the number of milliseconds in a second) by 20, resulting in 50 milliseconds for each frame.
Uploading the Result
After implementing the necessary code, we can now upload the result and observe the desired frame array. This will ensure that the frames are generated and displayed at the desired rate.
Exploring the World of Arduino Animations
Unveiling the Beauty of Arduino Animations
Arduino animations present a visually captivating experience that combines the art of movement with technological advancements. By leveraging the power of Arduino, enthusiasts can bring their designs to life through animated sequences. These sequences can range from simple blinking LED lights to elaborate multi-colored displays.
Customizing Arduino Animations
Arduino allows for customizing animations according to personal preferences and project requirements. By modifying the Arduino code, you can alter the animation speed, add or remove frames, and dictate the overall flow of the animation. This versatility gives creators the freedom to tailor their animations to suit their desired aesthetic and functionality.
Sharing and Collaboration
The world of Arduino is built on collaboration and sharing. Arduino enthusiasts are encouraged to share their animations with the community. This sharing of knowledge and creativity fuels innovation and pushes the boundaries of what is possible. By sharing your creations, you not only inspire others but also receive valuable feedback and insights that can further enhance your work.
Join the Arduino Animation Community
If you are new to Arduino animations or have questions, a vibrant online community awaits you. With numerous forums, social media groups, and tutorial resources, the Arduino community is ever-ready to lend a helping hand. Whether you seek guidance in coding, inspiration for new animations, or troubleshooting support, this community will make your Arduino journey an enjoyable and rewarding experience.
The LED Matrix display is a versatile and dynamic tool for showcasing information and animations in your Arduino projects. With its ability to display various indicators, warning icons, and custom animations, it adds depth and visual interest to your creations. By following the provided documentation and utilizing the appropriate libraries, you can easily master the art of controlling the LED Matrix display. So, go ahead and explore the endless possibilities this display has to offer!
Efficient memory usage is crucial when programming LED displays. By reconsidering traditional methods and exploring alternative solutions, such as utilizing arrays, you can optimize memory consumption and enhance performance. The use of arrays provides a structured and intuitive approach to work with LED icons, making it easier to store, modify, and visualize pixel data. So, the next time you’re developing an application with LED displays, remember to optimize your memory usage for a smoother and more efficient user experience.
Creating a captivating infinite loop animation involves a combination of duplicating frames, deleting pixels, and manipulating playback speed. By experimenting with different combinations, adjusting
Arduino animations offer a captivating blend of imagination and technology. With its endless possibilities for customization and the support of a thriving community, diving into the world of Arduino animations has never been more exciting. So, start experimenting, unleash your creativity, and let your animations come to life with Arduino. Remember, the only limit is your imagination.


