


Introduction
With the advancements in technology, musicians and music enthusiasts now have various ways to connect and integrate different musical instruments and devices. MIDI, also known as Musical Instrument Digital Interface, is a popular method used to establish communication between digital instruments or between a digital instrument and a computer. In this article, we will explore the capabilities of MIDI and how it can be used to enhance musical creativity and control.
In the realm of electronic circuits, the voltages used can vary greatly depending on the specific application. One common scenario involves the use of 3 volt circuits, which may require the addition of a level shifter or a simple adjustment of resistor values to ensure proper functionality. In this article, we will delve into the concept of level shifting and its potential applications in 3 volt circuits.
The Power of MIDI: Connecting and Controlling Digital Instruments
What is MIDI?
MIDI is primarily a language, a way for digital instruments to communicate with each other or with a computer. Unlike the traditional audio signals sent through 3.5mm jacks, MIDI transmits command messages that control various aspects of a musical performance. These commands can include playing a note, releasing a note, or changing the properties of a note.
Using MIDI with a Computer
One of the fascinating applications of MIDI is the ability to use a MIDI keyboard as a sound card for a computer. By sending MIDI messages from the keyboard to the computer, you can utilize the keyboard to play virtual instruments or software synthesizers on your computer. This offers a versatile way to express your musical ideas without the need for expensive hardware.
Controlling Multiple Instruments
MIDI also allows you to control multiple instruments simultaneously. For example, you can have one MIDI keyboard playing a melody while using the same keyboard to control a second keyboard, which will play harmonies or additional layers. This capability opens up endless possibilities for arrangement and layering in music production.
Expanding with MIDI Devices
In addition to keyboards, MIDI can be used to connect and control various other MIDI devices, such as drum machines or synthesizers. By synchronizing these devices through MIDI, you can create a cohesive and synchronized musical experience. Depending on the specific MIDI device, it may have only an input or output, or it could also feature a MIDI through port, allowing the signal to pass through to another device.
Hardware Design
When dealing with MIDI, it is essential to understand the hardware components involved. MIDI interfaces typically have transistor buffers to drive the outputs and opto-isolated inputs to ensure stable and reliable communication. These interfaces often feature standard connections, such as MIDI In and MIDI Out headers, which can be connected to microcontrollers like Arduino for further integration.
Exploring the Possibilities of a Level Shifter in 3 Volt Circuits
The Need for Level Shifting
When working with MIDI (Musical Instrument Digital Interface) signals, it is imperative to establish compatibility between different components. In the case of MIDI input and output signals operating at 3 volts, a level shifter may be necessary. By incorporating a level shifter, it becomes possible to enable communication between MIDI devices that operate at different voltage levels, such as 3.3 volts. However, it is essential to thoroughly test and verify that the alto coupler, or any other component involved, still responds correctly under these modified conditions.
Utilizing Arduino Nano for MIDI Communication
To facilitate interactive MIDI communication, an Arduino Nano board can be employed. By substituting the computer shown in the accompanying image with an Arduino Nano, it becomes feasible to establish a connection between a music keyboard and the Arduino Nano using input and output MIDI cables. This configuration enables the Arduino Nano to not only serve as a controller for the keyboard but also operate as a synthesizer, generating sounds based on the input received.
Understanding MIDI Electrical Specifications
Before proceeding with the implementation of MIDI communication using the Arduino Nano, it is crucial to comprehend the electrical specifications of MIDI interfaces. MIDI data is typically transmitted through a UART (Universal Asynchronous Receiver Transmitter) running at a rate of 31,250 bits per second. In the case of MIDI output from the Arduino Nano, a UR transmitter is utilized. This output signal may pass through a buffer before driving the MIDI interface. While optional, some engineers choose to incorporate ferrite beads in line with the signals to address potential noise concerns. However, for the purposes of this application, ferrite beads will not be implemented.
Resistors and Opto Couplers
Within the MIDI interface, two resistors play a crucial role in determining the voltage level at which the system can operate. These resistors ultimately drive an opto coupler on the other side of the circuit, where MIDI input is processed. By carefully selecting appropriate resistor values, it becomes possible to establish compatibility with either 5 volts or 3 volts, depending on the desired configuration.
Understanding MIDI Communication
MIDI (Musical Instrument Digital Interface) is a popular communication protocol used in the music industry to connect electronic musical instruments, computers, and other devices. In this article, we will explore the basics of MIDI communication and discuss how it is implemented in a circuit.
The Role of Resistors in MIDI Communication
In MIDI communication, resistors play a crucial role in determining the voltage levels and signal integrity. The voltage level for MIDI communication is typically 5 volts. However, if you need to operate at a lower voltage, you can use different resistors to achieve the desired voltage. For example, by using a half-watt 33-ohm resistor and a 10-ohm resistor, you can set up the system to run at a 3.3-volt supply.
The Function of Opto Couplers
One side of the MIDI cable is always pulled high, while the other side’s state depends on the UART data. The two series resistors, along with the voltage level, determine whether the opto coupler is turned on or off. The opto coupler is responsible for transmitting the MIDI data to the receiver on the other instrument or device. This ensures proper isolation and prevents interference.
Optional Components for Signal Integrity
To enhance signal integrity and minimize noise, optional components can be added to the MIDI circuit. Ferrite beads can help reduce electromagnetic interference, while capacitors can provide additional noise immunity. For instance, a 0.1-microfarad capacitor can be connected from pin 2 on the jack to ground to shunt any RF noise away from the cable.
MIDI Through Jack Implementation
In some MIDI systems, a MIDI Through jack is provided, which acts as a buffered copy of the data received on the input jack. This data is then sent out as a pass-through output to another device. The tip/ring/sleeve jack configuration, commonly known as type A, is the standard implementation for MIDI devices. By using this type of connector, MIDI devices can be easily wired up in an alternative way.
Understanding the Schematic
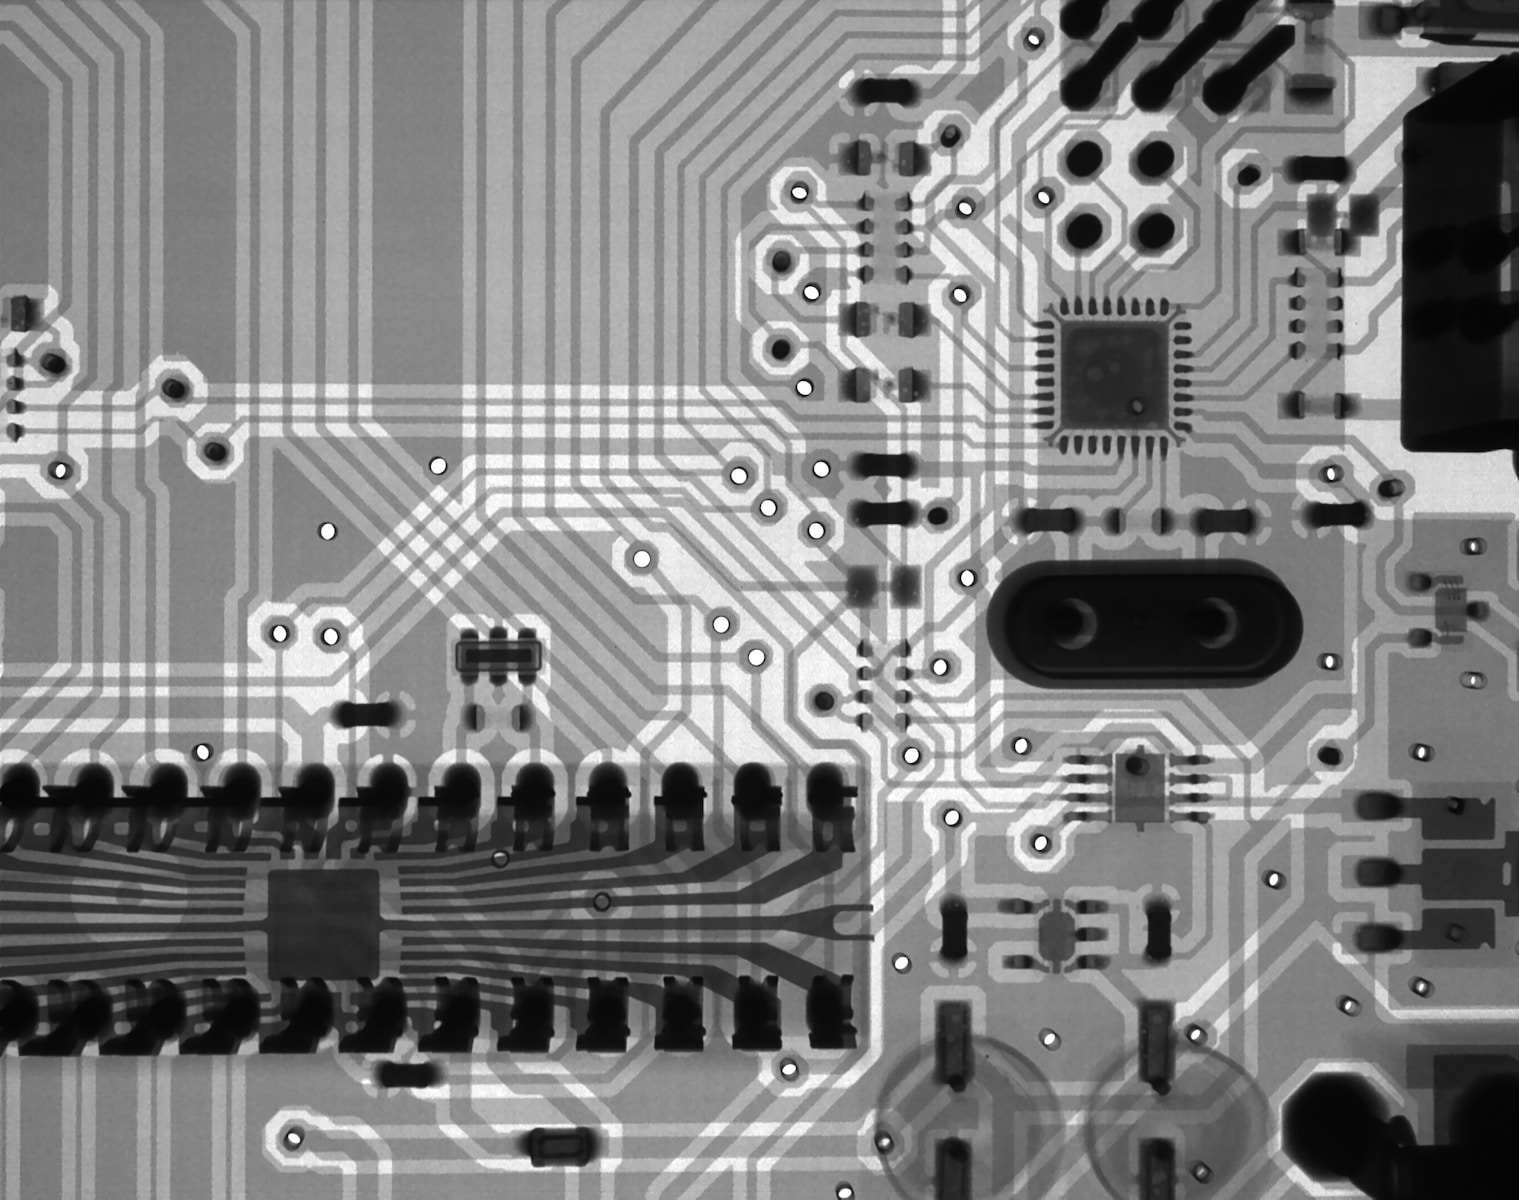
To implement MIDI communication with a microcontroller like Arduino, certain connections need to be made. The 5-volt and ground signals are taken from the Arduino’s nano, and the nano’s UART is hooked up to the MIDI out. The data from the Arduino is buffered and sent to the MIDI out jack using cascaded NPN transistor switches. To provide clarity, arrow indicators on the PCB and schematic demonstrate the flow of data from the Arduino to the MIDI out jack.
MIDI communication is an integral part of the music industry, allowing devices to seamlessly communicate and synchronize. By understanding the role of resistors, opto couplers, and optional components like ferrite beads and capacitors, a reliable and noise-immune MIDI circuit can be implemented. Whether you are connecting electronic musical instruments or other devices, MIDI offers a versatile and efficient communication protocol.
The Importance of Polarity in Signal Transmission
When it comes to signal transmission, maintaining the polarity of the signal is crucial. This ensures that the data being sent is properly interpreted and understood. One way to ensure the polarity remains the same is by using series resistors, such as the 220 ohm resistors in this case. These resistors help control the flow of current and maintain the stability of the signal.
The Role of the 6n138 Opto Coupler
In this setup, a 6n138 opto coupler is being used to drive the data signal. The opto coupler takes the 5 volt logic data signal and converts it into a format that can be easily received by the Nano. It acts as a mediator between the transmitting and receiving devices, ensuring seamless communication.
The Importance of Pull-Down Resistors
One crucial component in this setup is the pull-down resistor connected to pin 7 of the 6n138. This resistor helps the output transistor switch faster and provide sharper edges to the signal. This helps improve the overall performance and reliability of the transmission.
Using the Nano as a Synth
In order to put this setup to the test, the Nano is being used as a synthesizer. By receiving MIDI input from another keyboard, the Nano can produce sound through three oscillators. MIDI instructions tell the Nano when to start or stop generating tones, allowing it to function as a musical keyboard and sound generator.
The Setup and Sound Generation
To set up the Nano as a MIDI synth, the provided schematic is followed and implemented on a breadboard. The three tone generators are combined using resistors and then passed through a small filtering circuit before being amplified to produce audible sound.
MIDI Through and Keyboard Interaction
The setup allows for two keyboards with MIDI capability to be connected. One keyboard acts as the master, with the keys being pressed to send MIDI commands. The Nano’s synthesized sound is played through a speaker while the incoming MIDI messages are buffered and sent back out through MIDI through to the second keyboard. This allows for interactive and synchronized keyboard play.
Maintaining polarity, utilizing opto couplers, employing pull-down resistors, and proper setup are all vital aspects of signal transmission. By understanding and implementing these elements, one can achieve reliable and high-quality communication between devices.
Exploring MIDI Connections with Arduino Synth
MIDI (Musical Instrument Digital Interface) is a protocol that allows electronic musical instruments, computers, and other devices to communicate with each other. In this article, we will be delving into the world of MIDI connections using an Arduino Synth.
MIDI Signal Duplication
One interesting feature of MIDI is the ability to duplicate the notes being played. This means that a master keyboard can transmit the notes it plays to another keyboard. In this setup, the top keyboard acts as the master, while the bottom keyboard receives duplicate commands through a MIDI Thru connection.
Amplifier and Keyboards
Currently, the amplifier for the Arduino synth is turned off, so no sound will be heard. Additionally, the other keyboard is also turned off. However, we can visualize the MIDI signals using traces. The blue trace represents the incoming MIDI from the keyboard, while the green trace shows the MIDI Thru signal being buffered and sent to the second keyboard.
MIDI Thru Signal Routing
To understand the routing of the MIDI Thru signal, it’s important to note that the signal does not go all the way to ground. This is due to a voltage divider setup with two 220-ohm resistors and the alto coupler LED. This design ensures that the MIDI Thru signal is properly transmitted without any loss or distortion.
Testing MIDI Signal Duplication
To test the MIDI Thru functionality, let’s press some keys on the sending keyboard. As we do so, we should observe both the MIDI In and MIDI Thru traces responding accordingly. This confirms that the MIDI signal is successfully duplicated to the second keyboard.
Using Arduino Nano as a MIDI Controller
Now that everything is running smoothly with the MIDI In and MIDI Thru setup, let’s explore using an Arduino Nano as a MIDI controller. For this project, we can read a MIDI file from the internet and play it through the MIDI output.
Reading MIDI Files from SD Card
To play a MIDI file, we need to set up the Arduino Nano to read the MIDI file from an SD card. Once the file is read, the MIDI commands are sent to the MIDI output, allowing us to hear the MIDI file being played through our synthesizer.
MIDI connections open up a world of possibilities for musicians, hobbyists, and DIY enthusiasts. Whether you want to duplicate MIDI signals, use an Arduino as a MIDI controller, or experiment with MIDI files, the possibilities are endless. With Arduino Synth, you can explore this fascinating domain and create your own musical experiences.
Connecting the Nano Transmit Pin to MIDI Out
In this project, the Nano transmit pin is connected to MIDI out. This allows the MIDI data to be sent from the Nano to another instrument using a MIDI out cable. The receiving instrument will then play the corresponding notes as commanded by the MIDI file on the SD card.
Using the SD Fat Library for SD Card
To read and play back the MIDI files stored on the SD card, this project utilizes the SD fat library. This library provides the necessary functions to access the files on the SD card and play them back over the UART. Additionally, the project also requires the MD midi file library, which was installed to enable the MIDI functionality.
Modifying the Schematic
It is important to note that the schematic used in this project differed from the standard one. Instead of using the shield with the SD card directly attached, a separate module was used. The module was connected to the Nano using the regular SPI serial clock and data connections. The chip select was set to Arduino pin 10.
Choosing the Demo Sketch
The MIDI file player library used in this project comes with several demo sketches. The author chose to use the “loop” sketch, as it allows for continuous playback of the MIDI file stored on the SD card. This ensures that the MIDI file keeps playing until manually stopped.
Debugging with the Serial Monitor
The MIDI file downloaded for this project contains various instruments, including percussion. By putting the MIDI player in debug mode and monitoring the output in the serial monitor, the author can check if the MIDI data is correctly received and processed. This mode allows for communication with the serial monitor instead of sending the MIDI data to the MIDI UART.
Exploring the Compatibility of MIDI Instruments
Testing with Korg Volca Beats Drum Synthesizer
Upon initial examination, I can observe that each command in the text is directed towards a specific type of instrument. In order to evaluate the functionality of the instrument, my first step is to connect it solely to the Korg Volca Beats Drum Synthesizer. By doing so, I aim to determine whether any output is produced solely on the percussion channel. However, it is worth noting that this test might lack context as the sound of the drums alone may not provide a comprehensive analysis.
The Importance of Proper Setup
Furthermore, it is crucial to ensure that the instrument is correctly connected to obtain accurate results. Presently, the setup I have does not possess a proper line-in connection, which further complicates the evaluation. Consequently, the output may sound ambiguous and fail to convey the full potential of the instrument. To establish a clearer understanding, I intend to connect it to a keyboard capable of replicating not only the percussion sounds but also other instruments. With the aid of a MIDI file, this setup will provide a more musically meaningful experience, allowing me to gain valuable insights.
Connecting Projects with UART and MIDI Instruments
Finally, the ability to connect projects with UART and MIDI instruments presents numerous possibilities. By establishing a connection between an ESP32 or a Raspberry Pi and the instrument, I have the option to operate it at either 3.3 volts or at the standard 5 volts with the aid of proper level shifting techniques. This flexibility opens up various avenues for experimentation and exploration.
MIDI offers a world of possibilities for connecting, controlling, and expanding your musical setup. Whether you are a professional musician or a hobbyist, MIDI provides a versatile platform to express your creativity and explore innovative musical ideas. So go ahead, dive into the world of MIDI, and unlock the true potential of your digital instruments.
Level shifting is a critical aspect of working with 3 volt circuits in MIDI applications. By implementing a level shifter or adjusting resistor values, it becomes possible to ensure compatibility between MIDI devices operating at different voltage levels. Utilizing an Arduino Nano for MIDI communication offers a versatile solution, enabling interactive control over a music keyboard and synthesizer functionalities. Understanding the electrical specifications and components involved in MIDI interfaces is essential for successful implementation in 3 volt circuits.
The compatibility between MIDI instruments and different devices plays a crucial role in determining the overall functionality and musicality. Proper testing, complete setups, and adequate connections can provide a more comprehensive evaluation and enhance the overall musical experience. Additionally, the ability to adjust voltage levels offers greater flexibility in the choice of devices that can be used, enabling users to explore and experiment with different setups. Ultimately, this exploration encourages innovation and creativity in the realm of MIDI instruments.


