


Building a 5 Inch HMI Display Project with Arduino
With the advancement of technology, human-machine interaction has become an integral part of various electronic projects. In this article, we will guide you through building a project using a 5 inch HMI (Human-Machine Interface) display with Arduino. So, without further ado, let’s get started.
Required Components
To build this project, you will need the following components:
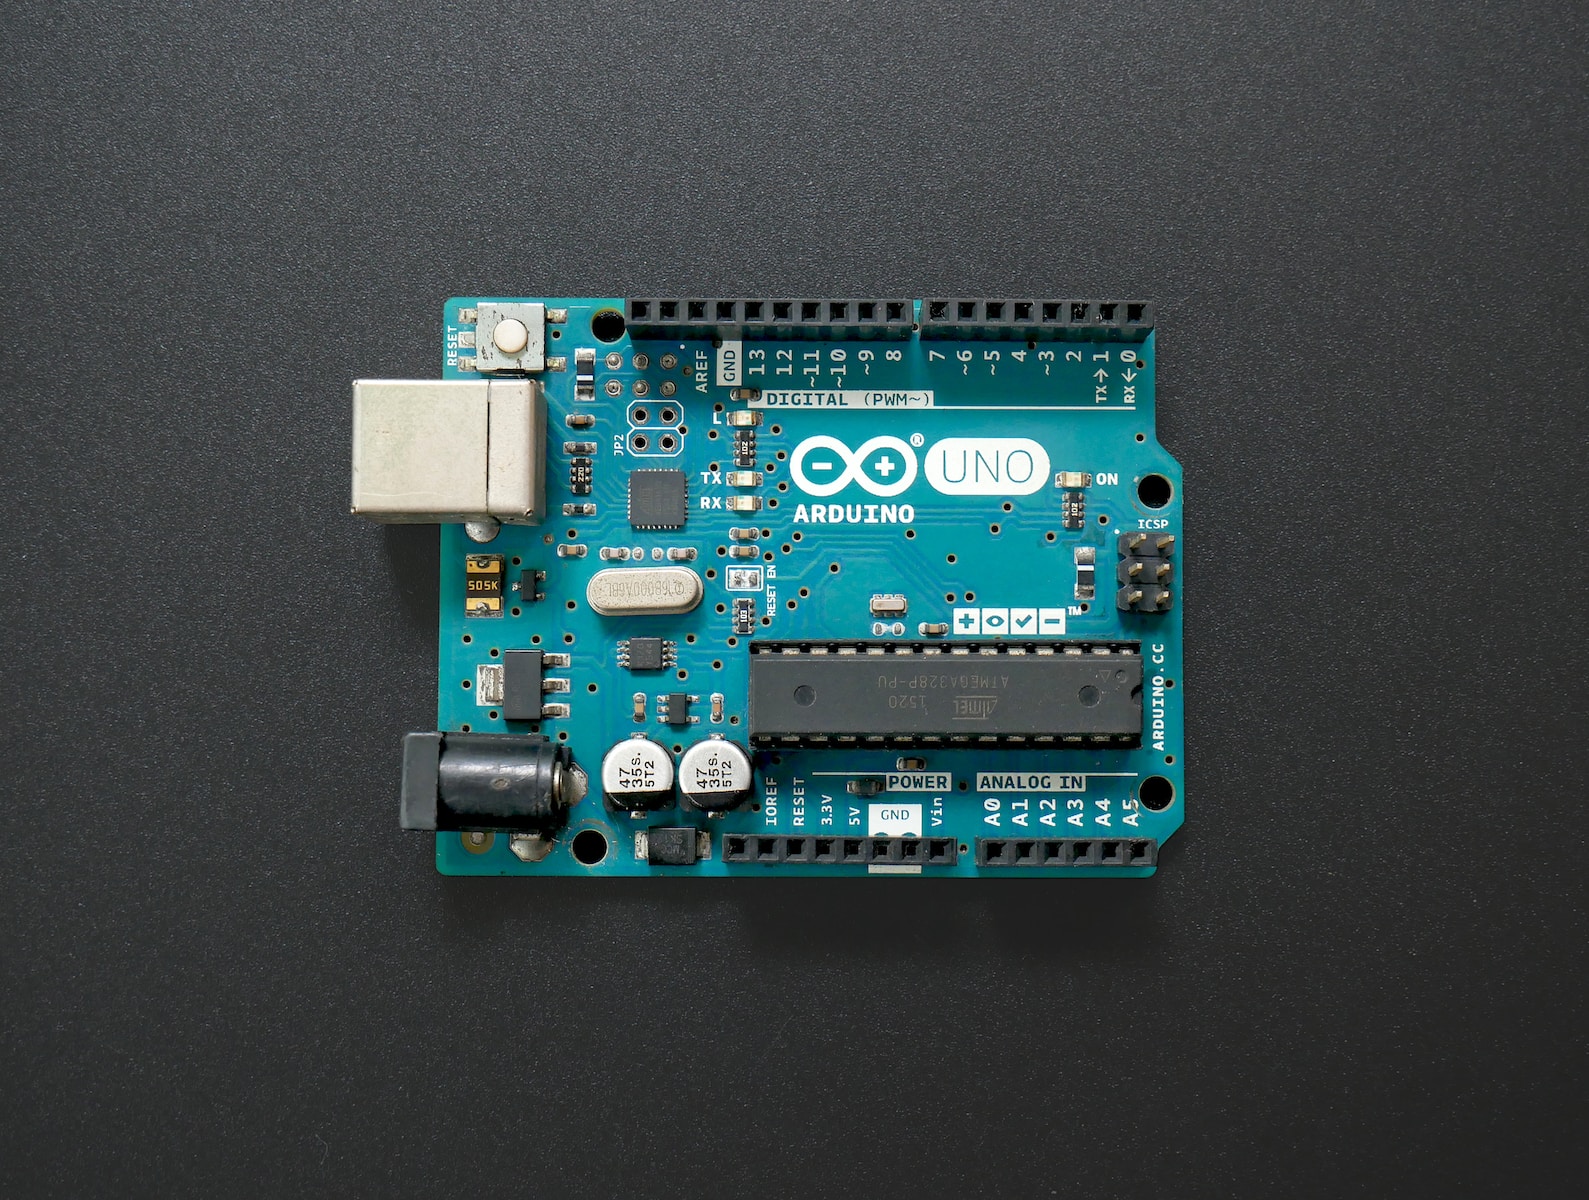
– Arduino
– Two-pin terminal block
– HMI display
– BC547 transistor
– 1K resistor
– 5V relay
These components can be easily obtained from your local electronic store or online platforms. Make sure you have all of them at your disposal before proceeding.
Connecting the Components
To start building the project, follow these steps:
1. Connect Arduino: Begin by connecting the Arduino board to your setup.
2. Connect the Terminal Block: Use a two-pin terminal block and connect one of its pins to the 5V pin of the Arduino and the other pin to the ground.
3. Connect the HMI Display: Take your 5 inch HMI display and connect its VCC pin to the 5V pin of the Arduino. Connect the ground pin of the display to the ground of the Arduino. Then, connect the RX pin of the display to the D4 pin of the Arduino and the DX pin of the display to the D3 pin of the Arduino.
4. Connect the BC547 Transistor: Proceed by connecting the BC547 transistor. Connect its pin number three to the ground.
5. Connect the 1K Resistor: Take the 1K resistor and connect one of its pins to the D2 pin of the Arduino. Then, connect the other pin to pin number two of the transistor.
6. Connect the 5V Relay: Next, connect the 5V relay. Connect one of its coil pins to pin number one of the transistor. Connect the other coil pin to the 5V pin of the Arduino.
7. Connect the Terminal Block (Again): Finally, connect another two-pin terminal block. Connect one of its pins to the normally open terminal of the relay, and the other pin to the common terminal of the relay.
How to Connect a Diode to Arduino and Test a Music Project
Connecting a diode to an Arduino board can be a useful way to enhance your projects and explore new possibilities. In this article, we will guide you through the process of connecting a 1n4148 diode to an Arduino and testing a music project.
Gathering the Materials
Before getting started, it is important to gather all the necessary materials. You will need an Arduino board, a 1n4148 diode, jumper wires, an SD card, and an HMI program file. Once you have everything ready, we can proceed to the next steps.
Connecting the Diode
To connect the diode, you will need to locate pin number one of the transistor on the Arduino board. After that, connect the anode of the diode to pin number one of the transistor and the cathode to pin number 54 of the Arduino. This connection allows the diode to control the flow of current in the circuit.
Uploading the Code
With all the connections in place, it is now time to upload the code to the Arduino. Copy the HMI program file onto an SD card and insert it into the HMI. This will ensure that the Arduino can read and execute the code correctly. Once the SD card is inserted, you are ready to move on to the next step.
Testing the Project
Now that everything is set up, it’s time to test your music project. Power on the Arduino and wait for the code to execute. If everything was set up correctly, you should be able to hear the music playing. If not, double-check your connections and ensure that the code was uploaded correctly.
By following these steps, you have successfully built a project using a 5 inch HMI display with Arduino. This project allows for efficient human-machine interaction, making it ideal for various applications. Explore the possibilities of this project and see what innovative creations you can build. Happy tinkering!
Connecting a diode to an Arduino can open up a world of possibilities for your projects. From controlling the flow of current to experimenting with music projects, the possibilities are endless. By following the steps outlined in this article, you can easily connect a diode to an Arduino and test a music project of your own. Enjoy exploring the exciting world of Arduino!


