


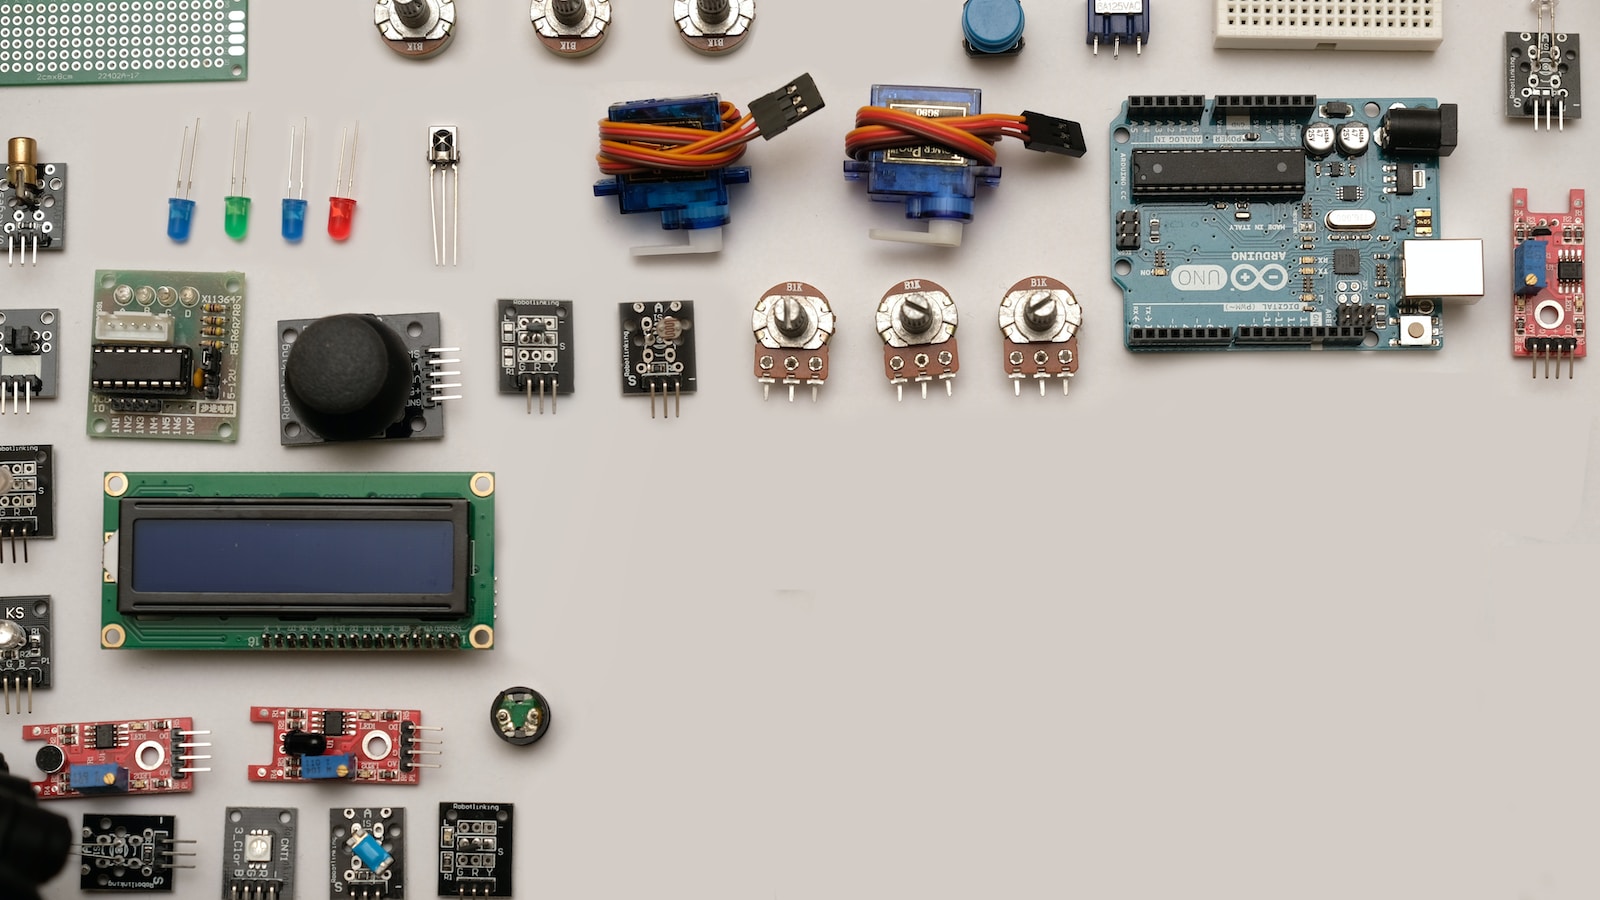
The Mystery of Pin 204: Exploring the Arduino R4 Wi-Fi
When examining the schematic of the Arduino R4 Wi-Fi, something caught my attention – a net connecting pin 204 to a label called “love.” Curiously, upon closer inspection of the heart-shaped pad, I discovered a tiny trace leading to a microcontroller via. This intrigued me further, especially since the Arduino R4 Wi-Fi differs from its predecessor, the Arduino Uno, by utilizing the ra4 M1 microcontroller with a 32-bit ARM processor and additional peripherals. To unravel the reasoning behind this connection, a deep dive into the ra4 M1 data sheet was necessary.
Unveiling the ra4 M1 Data Sheet
Upon opening the ra4 M1 data sheet, which spans a staggering 1436 pages, the section on I/O ports proved to be the most informative. Here, under peripheral settings for each product, a comprehensive description of all the alternate settings for each I/O pin can be found. The key section to focus on is Table 19.7, which outlines the alternate functions for pin 113, equivalent to the “love” palette on the Wi-Fi board.
The Versatility of Pin 113
Table 19.7 reveals that pin 113 of the ra4 M1 microcontroller possesses four alternative functions:
General PWM Timer
Capacitive Touch Sensing Unit
Segment LCD Controller
Serial Sound Interface
These functions provide a range of possibilities for utilizing pin 113, explaining why it was chosen for the heart-shaped pad on the Arduino R4 Wi-Fi. However, this still does not explain the unexpected connection to pin 204 instead of pin 113.
The LED Matrix Consideration
Upon further examination, it became apparent that pin 204 is typically reserved for the LED matrix on the Arduino R4 Wi-Fi. This suggests that Arduino deliberately repurposed pin 204 for the love pad, trading its original functionality for the desired feature. The reasoning behind this decision requires more exploration.
An Insight into Design Choices
While the precise motivation remains unknown, Arduino’s decision to connect the love pad to an input pin on the microcontroller implies a particular intention. Perhaps this choice allows for more flexibility in programming and enhanced interaction with the love pad. By utilizing an input pin, it is plausible that the love pad can trigger events or respond to external stimuli, creating a more dynamic user experience.
Exploring the Capacitive Touch Sensing Unit on Pin 204
The Minima version of the microcontroller comes with an interesting peripheral on pin 204 – the capacitive touch sensing unit. This peripheral allows users to create touch-sensitive keypads by connecting touch electrodes to the microcontroller. Unfortunately, there is currently no Arduino library available that utilizes this capacitive touch unit. When attempting to set the registers manually, it can be quite confusing and progress may be limited. However, there are alternative ways to utilize these pins.
Using the Pins as Regular I/O
Since the pins on the Minima version are not regular Arduino pins, we are unable to make use of the digitalRead, digitalWrite, and pinMode functions. However, we can still experiment with these pins by adapting existing Arduino sketches. Let’s take the debounce sketch from the Arduino IDE as an example.
Modifying the Debounce Sketch
In the digital and debounce examples, the sketch is originally designed to work with a push button attached to pin 2 and a 10 kilo ohm pull-down resistor connecting pin 2 to ground. For our purposes, we will make some changes to the sketch.
First, we should remove the button pin definition in the code. Instead, let’s refer to section 19 on I/O ports in the datasheet to understand how to manually set the registers. The relevant section in the datasheet is 19.
By modifying the code to configure the registers of pin 204 as per the specifications in the datasheet, we can then use this pin as an input or output in our sketch. This allows us to utilize the capabilities of the capacitive touch sensing unit without relying on a dedicated Arduino library.
The Future of the Capacitive Touch Sensing Unit
While setting the registers manually may be a daunting task, there is hope that someone with more knowledge and expertise will develop an Arduino library specifically for the capacitive touch sensing unit. This would greatly simplify the process and make it more accessible for users to harness the potential of this peripheral.
In the meantime, experimenting with the pins as regular I/O can still provide valuable insights and allow for creative exploration. It opens up opportunities to create customized touch-sensitive interfaces using the Minima microcontroller.
The Importance of Configuring Input Pins in Arduino
Configuring input pins in an Arduino board is crucial in order to ensure proper functionality and control. In this article, we will discuss the significance of setting up the register named pmn PFS and the relevant bits that need to be configured for input pins. We will also explore different behaviors for two specific Arduino boards and the steps required to configure input pins for optimal performance.
Understanding the Register and Relevant Bits
The register named pmn PFS is responsible for controlling the behavior of input pins in Arduino. Two important bits that we need to set are the port Direction bit and the Pull up control bit.
Port Direction Bit: This bit needs to be set to zero for an input pin. It specifies the direction of the data flow, indicating that the pin is configured to receive input.
Pull up Control Bit: Enabling this bit allows us to use an input pull-up resistor. It helps in stabilizing the voltage level and avoids floating inputs when the pin is not connected to any external source.
By reading from bit 1 of the pidr register, we can determine the value of the input pin (high or low).
Different Behaviors for Arduino Boards
Depending on the specific Arduino board being used, we may need to define different behaviors using preprocessor definitions. Let’s consider two boards as examples: Arduino Minima and Arduino Uno Wi-Fi R4.
Arduino Minima: If the board is Arduino Minima, we define lovepin as register R PFS Port 2 pin 4. We also need to define pmn PFS and pmn PFS underscore B.
Arduino Uno Wi-Fi R4: For this board, we use lovepin rpfs Port 1 pin 13. Again, we define pmn PFS and pmn PFS underscore B accordingly.
Configuring Input Pins for Optimal Performance
In the setup section of the Arduino code, instead of using the pin mode function to configure the button, we need to follow specific steps for optimal input pin configuration:
Set the direction register (lovepin.PDR) to zero, indicating that the pin is configured as an input.
Configure the pull-up resistor by setting the PCR register (lovepin.PCR) to one.
By configuring the input pin in this way, we ensure that the pin will function as intended and provide accurate input readings.
Adjusting Button State for Pull-Up Resistors
It is important to note that the original sketch may have been designed for a switch with a pull-down resistor. However, when using a pull-up resistor, we need to make some adjustments. Specifically, we need to change the initial button state from low to high, as the pull-up resistor will keep the input pin voltage high when the button is not pressed.
By making the necessary adjustments and configuring the input pins correctly, we can ensure reliable performance and
Exploring Arduino: Making Simple Button Circuit
Arduino boards are widely known for their versatility and ease of use in creating innovative electronic projects. In this article, we will delve into the world of Arduino by making a simple button circuit. We will explore the setup function, utilize the serial print line, and discuss some exciting possibilities.
Setting Up the Circuit
Before we begin, let’s gather the necessary components. You will need an Arduino R4 board, a jumper wire, and optionally, a piece of aluminum foil. Connect one end of the jumper wire to the ground pin on the Arduino board. Then, touch the other end of the wire to the heart-shaped pad to close the switch. Adding a piece of aluminum foil can transform the setup into a real button.
The Code: Toggling the Button State
In the setup function, we initialize the serial dot begin function and wait for it to initialize. In the loop function, where we toggle the button state, we add a message using the serial dot print line. To make it more visually appealing, we include an open source emoji heart. This simple addition brings fun to the project.
Potential Enhancements: Capacitive Touch Pads and IO Access
Although this example may seem contrived, it opens up exciting possibilities. It would be fantastic if someone could figure out how to make these buttons work as capacitive touch pads. This feature would add a new level of interactivity and convenience. Additionally, if you require extra IO access, you can easily solder a jumper wire to the designated area.
Upcoming: Led Matrix on Wi-Fi Arduino Boards
Next, we will delve into the LED Matrix on the Wi-Fi version of the Arduino R4. This component offers countless possibilities for creative projects. Stay tuned for an in-depth exploration of its capabilities.
Your Suggestions and Comments
We value your input! Let us know in the comments section below about any other features you would like to see on the new Arduino boards. Your suggestions will help shape future projects and developments in the Arduino community.
The mystery surrounding the connection of pin 204 to the “love” pad on the Arduino R4 Wi-Fi has been partially unraveled through an exploration of the ra4 M1 data sheet and an understanding of Arduino’s design choices. While we may never know the full reasoning behind this connection, it is clear that it offers increased versatility and potential for innovative interactions with the love pad. Understanding the intricacies of hardware design choices reminds us that even seemingly obscure connections can play a crucial role in enhancing user experiences.
Although the capacitive touch sensing unit on pin 204 may lack an Arduino library, there are alternative ways to experiment with its capabilities. By adapting existing sketches and manually setting the registers, users can still access and utilize this peripheral. With the hope of future developments in the form of an Arduino library, the potential for creating innovative touch-sensitive interfaces using the Minima microcontroller remains exciting.


