
![ESP-NOW erklärt: Drahtlose IoT-Kommunikation leicht gemacht! | [Tutorial] | #EdisTechlab](https://www.arduino.coach/wp-content/uploads/2024/05/maxresdefault-24-300x169.jpg "ESP-NOW erklärt: Drahtlose IoT-Kommunikation leicht gemacht! | [Tutorial] | #EdisTechlab")


Components Needed
In order to complete this tutorial, the following components are needed: an Arduino board, an I2C module, a 16 pixel LCD screen, and four male-to-female cables.
Connecting the I2C Module
The first step in this tutorial is to connect the I2C module to the Arduino board. The I2C module has four pins: GND, VCC, SDA, and SCL. The GND pin should be connected to the GND pin on the Arduino board. The VCC pin should be connected to the 5V pin on the Arduino board. The SDA pin should be connected to the A4 pin on the Arduino board. The SCL pin should be connected to the A5 pin on the Arduino board.
Connecting the LCD Screen
The next step is to connect the LCD screen to the I2C module. The LCD screen has 16 pins, which should all be connected to the corresponding pins on the I2C module. Once all the pins have been connected, the LCD screen should be powered on.
Writing the Code
The final step in this tutorial is to write the code for the Arduino board. The code should include the necessary libraries for the I2C module and LCD screen. The code should also include commands to initialize the I2C module and LCD screen. Once the code has been written, it should be uploaded to the Arduino board.
Testing the Code
Once the code has been uploaded to the Arduino board, it should be tested to ensure that it is working correctly. The LCD screen should display the text that was written in the code. If the text is not displayed correctly, the code should be checked for errors. Once the code is working correctly, the tutorial is complete.
Incorporating Liquid Crystal i2c Library
Incorporating the Liquid Crystal i2c library into the Arduino IDE is essential for the successful operation of the Arduino LCD. This library is available for download from the internet or from the Arduino IDE itself. To download it from the IDE, simply search for the library name and click the install button. Once the library is installed, it is necessary to declare it in the code by using the include statement. This is followed by the initialization of the LCD by calling the Liquid Crystal function with three parameters – the address of the LCD, the number of columns and the number of rows.
Connecting the Arduino to the LCD
The Arduino must be connected to the LCD using the appropriate cables. This involves connecting the 5V and GND pins to the respective pins on the Arduino, followed by connecting the SDA and SCL pins to the respective pins on the Arduino. Additionally, the brightness of the LCD can be adjusted by turning the screw on the back of the LCD.
Uploading the Program to the Arduino
Once the connections are made, the program can be uploaded to the Arduino. This is done by opening the Arduino IDE and selecting the appropriate board and port. After this, the code can be written and uploaded to the Arduino.
Testing the LCD
Once the program is uploaded, the LCD can be tested. This involves powering up the Arduino and observing the LCD. If the LCD is not lit, the brightness can be adjusted by turning the screw on the back of the LCD. If the LCD is lit, the program can be tested further by displaying text or images on the LCD.
Print, lalu, lu, masukin, teks, yang, lu, mau, print, ke, layar, LCD, nya, contohnya, lu, masukin, lcd.print, “I, Love, U, Anya”, Nah, teks, itu, akan, muncul, di, layar, LCD, nya, Oke, sekarang, kita, bisa, juga, mengatur, berapa, banyak, kolom, dan, berapa, banyak, baris, dari, LCD, nya, kalau, kita, mainin, variabel, kolom, dan, row, nya, kita, bisa, mengatur, berapa, banyak, kolom, dan, berapa, banyak, baris, dari, LCD, nya, kita, bisa, mengatur, berapa, banyak, kolom, dan, berapa, banyak, baris, dari, LCD, nya, kita, bisa, mengatur, berapa, banyak, kolom, dan, berapa, banyak, baris, dari, LCD, nya, kita, bisa, mengatur, berapa, banyak, kolom, dan, berapa, banyak, baris, dari, LCD, nya, kita, bisa, mengatur, berapa, banyak, kolom, dan, berapa, banyak, baris, dari, LCD, nya
Understanding the I2C Address
The first step in setting up the Arduino LCD is to understand the I2C address. This is a unique identifier that allows the Arduino board to communicate with the LCD. The I2C address can vary depending on the model of the LCD, so it is important to check the documentation for the specific model. In this tutorial, the I2C address used is 0x27.
Determining the Number of Columns and Rows
The next step is to determine the number of columns and rows of the LCD. This is done by creating a variable called count and assigning it the value of 16. This is because the LCD used in this tutorial is a 16×2 LCD. This means that there are 16 pixels across and two rows.
Initializing the LCD
The next step is to initialize the LCD. This is done by calling the lcd.begin function. This function sets up the LCD and prepares it for use. It also sets the backlight of the LCD to be on by default.
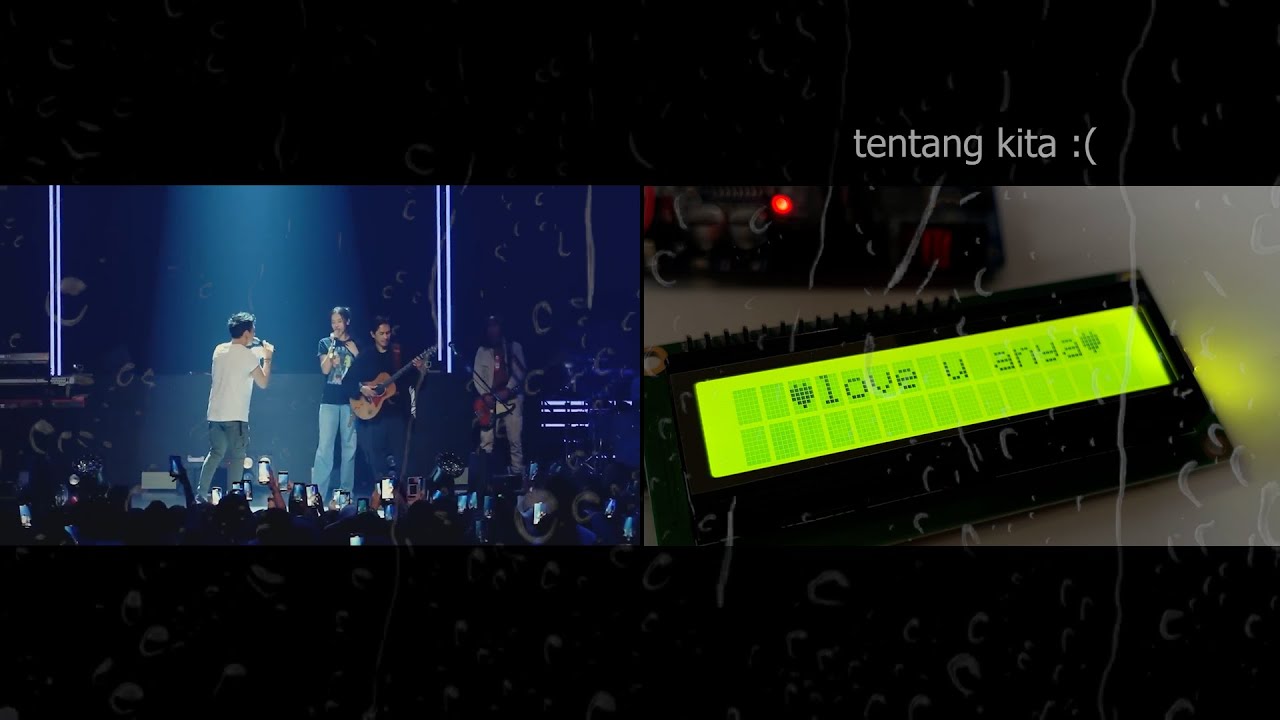
Printing Text to the LCD
Once the LCD is initialized, it is possible to print text to the LCD. This is done by calling the lcd.print function and passing in the text that needs to be printed. For example, to print the text I Love U Anya to the LCD, the following code
SetCursor, kita, taruh, 01, artinya, baris, kedua, nah, ini, isinya, I, Love, U, Anya, nah, kalau, kita, upload, lagi, nah, di, LCD, nya, akan, ada, tulisan, Daya, Afrizal, I, Love, U, Anya
Setting Cursor
The lcd.setCursor() command has two parameters, the first one is for the column and the second one is for the row. Setting the parameters to 0 and 0 means that the cursor will be placed at the beginning of the LCD.
Printing Text
To print text on the LCD, the lcd.print() command is used. For example, to print the letter ‘A’ on the LCD, the command lcd.print(“A”) is used. After uploading the code, the letter ‘A’ should appear on the LCD.
Positioning the Cursor
The lcd.setCursor() command can be used to position the cursor at a specific spot on the LCD. For example, if the parameters are set to 10 and 1, the cursor will be placed at the 10th column of the 1st row. If the parameters are set to 0 and 1, the cursor will be placed at the beginning of the 2nd row.
Filling the LCD
To fill the LCD with text, the lcd.setCursor() command is used to position the cursor at the desired spot. For example, if the parameters are set to 0 and 0, the text “Daya Afrizal” can be printed on the 1st row. Then, the parameters can be set to 0 and 1 to print “I Love U Anya” on the 2nd row. After uploading the code, both texts should appear on the LCD.
Setting Cursor
In order to display text on an Arduino LCD, the cursor must first be set. This is done by using the command lcd.setCursor(row, column). The row and column parameters specify the position of the cursor on the LCD. For example, lcd.setCursor(1, 0) will set the cursor to the second row, first column, which is also known as the first character of the second line.
Printing Text
Once the cursor has been set, text can be printed to the LCD using the command lcd.print(text). This command will print the specified text to the LCD starting at the current cursor position. For example, lcd.print(“Afrizal YouTube Channel”) will print the text “Afrizal YouTube Channel” to the LCD starting at the current cursor position.
Limitations
The LCD can only display 16 characters per line, so if the text is longer than 16 characters, it will not be displayed in its entirety. Instead, the text will be truncated and only the first 16 characters will be displayed.
Scrolling Text
In order to display longer text on the LCD, it must be scrolled. This is done by using a combination of the lcd.setCursor() and lcd.print() commands. The lcd.setCursor() command is used to set the cursor to the beginning of the line, and the lcd.print() command is used to print the text. This process is repeated until the entire text has been displayed.
Example Code
The following code is an example of how to scroll text on an Arduino LCD.
Void loop() {
Lcd.clear();
Lcd.setCursor(0, 0);
Lcd.print(“Afrizal YouTube Channel”);
Delay(1000);
Lcd.setCursor(0, 1);
Lcd.print(“Please Subscribe”);
Delay(1000);
}
In this example, the text “Afrizal YouTube Channel” is printed to the first line of the LCD, followed by the text “Please Subscribe” on the second line. This process is repeated every second, creating a scrolling effect.
For more information on how to use the Arduino LCD, please visit Afrizal.com and navigate to the Arduino section. There you will find a full list of commands and examples of how to use them.
Setting Up the Arduino LCD
The Arduino LCD is a great tool for displaying data and information. To use it, you need to set up the LCD and create a program to control it. This tutorial will show you how to set up the Arduino LCD and write a program to control it.
Connecting the LCD to the Arduino
The first step in setting up the Arduino LCD is to connect it to the Arduino board. To do this, you need to connect the LCD’s data pins (D0-D7) to the Arduino’s digital pins (2-9). You also need to connect the LCD’s control pins (RS, RW, and E) to the Arduino’s digital pins (10-12).
Writing the Program
Once the LCD is connected to the Arduino, you need to write a program to control it. The program should start by declaring a variable for the position of the cursor. This variable will be used to keep track of the position of the cursor as it moves across the LCD.
Next, the program should set the cursor to the first column (column 0) and the first row (row 1). This is done using the lcd.setCursor() command.
The program should then create a loop that will move the cursor across the LCD. Inside the loop, the position variable should be incremented by one each time the loop is executed. This will cause the cursor to move one column to the right each time the loop is executed.
Finally, the program should end with a delay of 500 milliseconds. This will give the user time to read the text on the LCD before it is cleared and the loop starts again.
Tutorial I LOVE U ANYA Arduino LCD
The I LOVE U ANYA Arduino LCD is a great way to display text and images on a screen. This tutorial will walk you through the process of setting up the LCD and writing code to display text.
Hardware Setup
The first step is to connect the I LOVE U ANYA Arduino LCD to the Arduino board. To do this, connect the LCD’s data pins (D4-D7) to the Arduino’s digital pins (2-5). Then, connect the LCD’s RS, RW, and E pins to the Arduino’s digital pins (6-8). Finally, connect the LCD’s VSS and VDD pins to the Arduino’s ground and 5V pins, respectively.
Writing Code
Once the hardware is set up, you can begin writing code to display text on the LCD. The first step is to include the LiquidCrystal library in your code. This library contains functions that allow you to control the LCD.
Next, you need to declare the pins that you connected the LCD to. This is done with the LiquidCrystal() function. For example, if you connected the LCD’s data pins to digital pins 2-5, you would write LiquidCrystal(2, 3, 4, 5).
Once the pins are declared, you can begin writing code to display text on the LCD. To do this, you will need to use the print() and println() functions. These functions allow you to print strings of text to the LCD.
Validation
It is important to validate the position of the text on the LCD. To do this, you can use an if statement. This statement will check if the position of the text is less than 0 or greater than the number of columns on the LCD. If it is, the position will be reset to 0. This ensures that the text is always displayed correctly.
This tutorial has shown you how to set up the Arduino LCD and write a program to control it. With the knowledge gained from this tutorial, you can now create your own programs to display data and information on the LCD.
By following this tutorial, you should now be able to set up the I LOVE U ANYA Arduino LCD and write code to display text on it. With a few simple steps, you can create a great way to display text and images on a screen.


![ESP-NOW erklärt: Drahtlose IoT-Kommunikation leicht gemacht! | [Tutorial] | #EdisTechlab](https://www.arduino.coach/wp-content/uploads/2024/05/maxresdefault-24-450x253.jpg "ESP-NOW erklärt: Drahtlose IoT-Kommunikation leicht gemacht! | [Tutorial] | #EdisTechlab")

