Introduction
Creating a distance measuring system using an Arduino Uno requires a few components to be put together. This article will provide a step-by-step tutorial on how to assemble and configure the components to create a distance measuring system.
Components Required
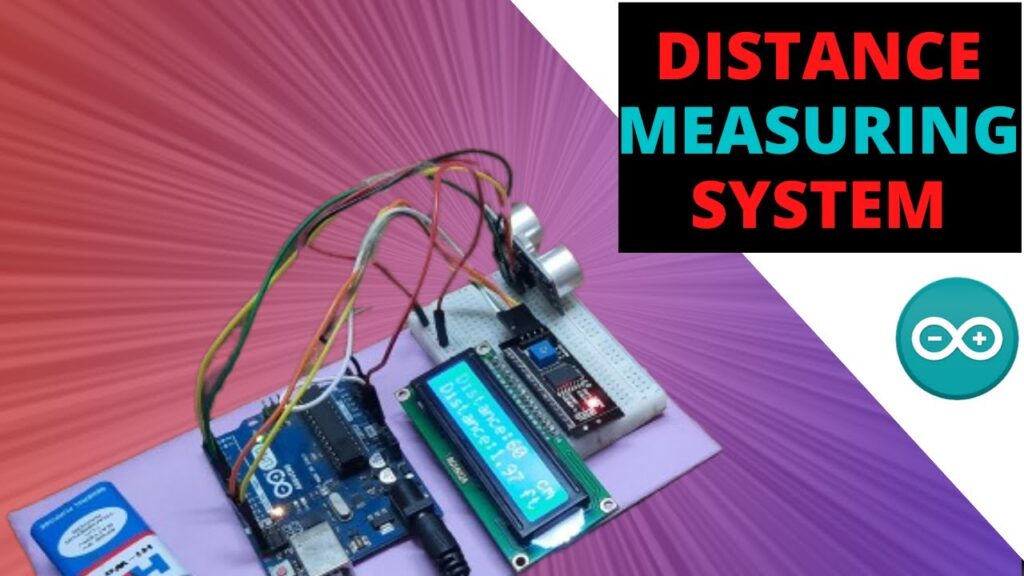
The components required to create a distance measuring system using an Arduino Uno are an Arduino Uno, a breadboard, an ultrasonic distance sensor, an LCD screen, a battery connector, a piece of cardboard, double sided tape, and a couple of jumper cables.
Assembling the Components
The first step is to attach the Arduino Uno to the cardboard piece using double-sided tape. Next, attach the breadboard in a similar manner. After that, connect the ultrasonic distance sensor to the breadboard. Then, attach the LCD screen to the breadboard. Following that, attach the I2C adapter to the breadboard and connect the female to male jumper cables to the female headers of the I2C adapter.
Connecting the Components to the Arduino
The next step is to connect the components to the Arduino. First, connect the GND pin to the GND pin on the Arduino. Then, connect the VCC pin to the positive rail on the breadboard. After that, connect the SDA pin to the SDA pin and the SCL pin to the SCL pin on the Arduino. Finally, attach the battery to the cardboard piece and connect the positive rail on the breadboard to the 5V pin on the Arduino.
Writing the Code
The code for the distance measuring system needs to be written in the Arduino IDE. The first step is to include the libraries that are required. Next, create an LCD object and define the number of columns and rows on the LCD screen. After that, declare the pins to which the pins of the ultrasonic distance sensor are connected. Then, declare the pins to which the LCD is connected. Following that, initialize the LCD screen.
Creating the Void Loop
The next step is to create a void loop. This loop will be used to measure the distance and display it on the LCD screen. To do this, create a variable that will store the distance measured by the ultrasonic distance sensor. Then, print the distance measured by the ultrasonic distance sensor on the LCD screen. Finally, delay the program for one second.
Declaring Variables
The first step in creating a distance measuring system using Arduino is to declare the necessary variables. This includes the status variable, as well as the pins of the ultrasonic distance sensor. The status variable is used to check whether the LCD screen is functioning correctly.
Setting Up the Ultrasonic Sensor
The next step is to set up the ultrasonic distance sensor. This involves connecting the pins of the sensor to the Arduino board, and configuring them as input and output devices. This allows the Arduino to send and receive signals from the sensor.
Calculating Distance
Once the sensor is set up, the Arduino can begin to calculate the distance between the sensor and an object. This is done by sending a sound wave from the sensor and measuring the time it takes for the wave to return. This time is stored in a variable called duration, which is then used to calculate the distance.
Displaying Results
Finally, the Arduino can display the results on the LCD screen. This is done by printing out the values of the distance variable on the screen. This allows the user to easily view the distance between the sensor and the object.
This article provided a step-by-step tutorial on how to assemble and configure the components to create a distance measuring system using an Arduino Uno. The components required were an Arduino Uno, a breadboard, an ultrasonic distance sensor, an LCD screen, a battery connector, a piece of cardboard, double sided tape, and a couple of jumper cables. The code for the distance measuring system was written in the Arduino


