


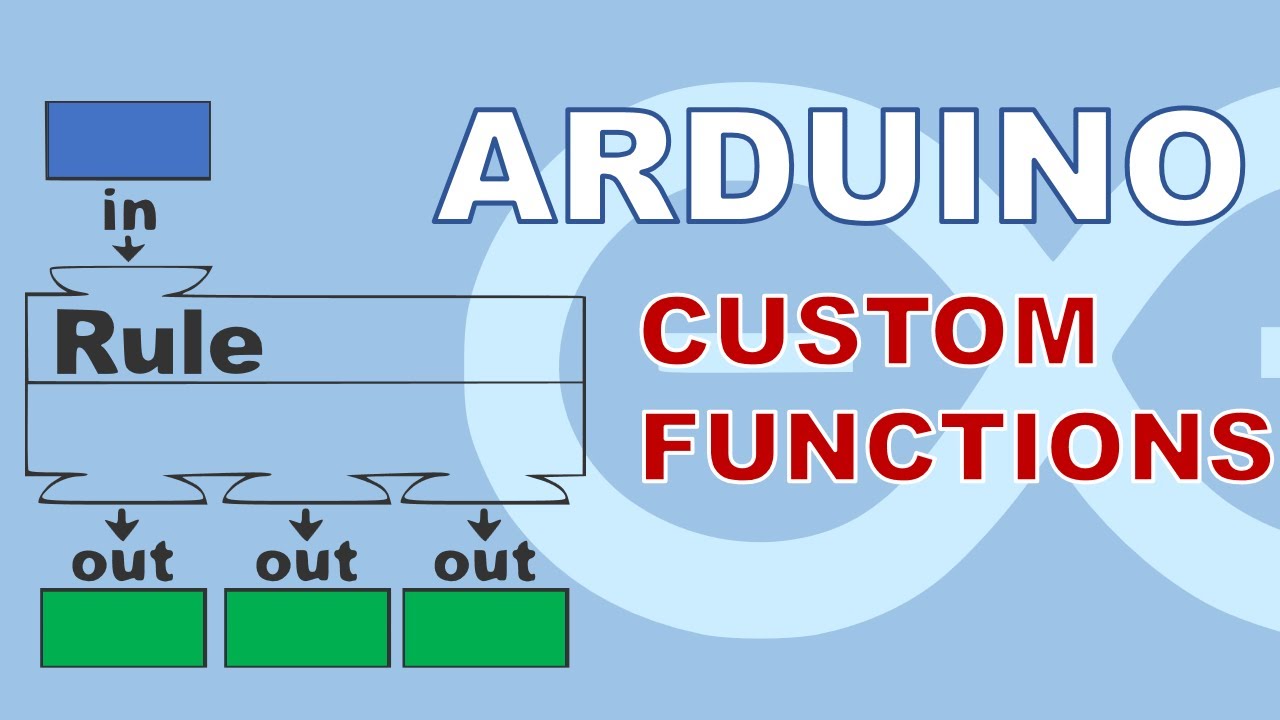
Creating Custom Functions in Arduino Code
The Arduino platform provides a range of programming tools for creating custom functions. These functions can be used to carry out a variety of tasks, from performing calculations to controlling hardware. The basic structure of a custom function is outlined below.
Specifying the Return Type
The first step in creating a custom function is to specify the type of data it will return. If the function is designed to produce a result, the data type of the result must be declared. Common data types used in Arduino programming include int, float, and char. If the function does not produce a result, the return type should be set to void.
Naming the Function
The next step is to give the function a unique name. This name acts as a label for the function and should be descriptive of its purpose. It is important to ensure that the name is not already used by another function or keyword in the Arduino language.
Input Parameters
The function must also be given any input parameters it requires. These are the values that the function needs in order to carry out its task. Each parameter must be given a data type to let Arduino know what kind of data to expect. Common data types used for parameters include int, float, and char.
Defining the Actions
Once the input parameters have been declared, the function can be given instructions to carry out. These instructions can range from simple calculations to complex operations. It is important to ensure that the instructions are written in a way that Arduino can understand.
Returning the Result
If the function is designed to produce a result, the return statement must be used. This statement is used to send the result back to the main program. The data type of the result must match the data type specified at the beginning of the function.
Creating custom functions in Arduino code can be a powerful tool for carrying out complex tasks. By following the steps outlined above, users can create functions that are tailored to their specific needs. With a bit of practice, users can create functions that are both efficient and effective.
Understanding the Basics of Arduino Functions
Arduino functions are used to perform specific tasks, such as manipulating data or controlling hardware. They are written in the Arduino language, which is based on the C++ programming language. A basic Arduino function does not return any values; instead, it performs a task and displays the result on the serial monitor. For example, a function that adds two integer numbers together and displays the result on the serial monitor would look like this:
Void addNumbers(int a, int b) {
Serial.println(a + b);
}
Creating a Function with Multiple Returns
In some cases, it is necessary to have a function return a value. This is done by using the return keyword followed by the result. To illustrate this, let’s look at an example of an Arduino function that returns multiple values. We will start by declaring two integer values, a and b, and a variable called add that will store the result.
Int a = 10;
Int b = 20;
Int add;
Next, we create a function called addNumbers which takes the two integer values as inputs and returns an integer number. Inside the function, we utilize the return keyword to send back the answer obtained by adding the two integer numbers that are given to the function as inputs.
Int addNumbers(int a, int b) {
Return a + b;
}
Executing the Function
Finally, we execute our custom function and store the result in the add variable.
Add = addNumbers(a, b);
When we run this code, the value 30 is stored in the add variable. It is important to note that the function does not display the result on the serial monitor; instead, it returns the value to the calling program.
Declaring Pointers
Declaring pointers is a crucial step in creating custom functions for multiple returns. A pointer is a special object that holds the address of a variable in Arduino’s memory. To declare a pointer, one must give it a name and assign it the original variable type with an asterisk attached at the end. For example, in the case of the two integers, add and mul, the addr_add pointer would be declared as follows:
Int *addr_add;
The same applies to the addr_mul pointer:
Int *addr_mul;
Assigning Pointers
Once the pointers have been declared, they must be assigned to the respective variables. This is done by using the ampersand symbol before the variable name. For example, to assign the addr_add pointer to the add variable, the following code is used:
Addr_add = &add;
Similarly, the addr_mul pointer is assigned to the mul variable:
Addr_mul = &mul;
Creating the Function
Now that the pointers have been declared and assigned, the function can be created. The function will take two integers as inputs and return two values, the sum and the multiplication of the two integers. The function should be declared as follows:
Void calculations(int a, int b, int *sum, int *mul)
The function should then be defined as follows:
Void calculations(int a, int b, int *sum, int *mul) {
*sum = a + b;
*mul = a * b;
}
Calling the Function
The function can now be called and the values stored in the add and mul variables can be displayed on the serial monitor. This is done as follows:
Calculations(a, b, &add, &mul);
Serial.println(add);
Serial.println(mul);
This approach allows for multiple values to be returned from a function. This is useful when one needs to return multiple values from a function and is a great way to extend the capabilities of Arduino.
Understanding Pointers
Pointers are a powerful tool in programming, allowing for the manipulation of memory addresses. In the context of Arduino, pointers are used to store the memory address of a variable, such as an integer. This pointer will then point to the memory address where the integer value is stored. To access the value of the variable, the pointer’s name is used with an asterisk in front. This allows the programmer to directly reference the variable without having to use the pointer.
Creating a Custom Function
In order to create a custom function for multiple returns, the programmer must first define the function as void. This is because the function will not return results in the usual way. Instead, four input parameters must be used: two integer numbers to do the math with, and two pointers to save the answers. By using asterisks with the pointer names, the answers of the addition and multiplication can be written directly into the right memory spots. After the function is run, the ADD and MUL variables will be filled with the answers.
Testing the Function
To test the function, the programmer must first set up the serial monitor. This will allow the programmer to display more information, such as descriptions, to make it clear. The two integer numbers that will be used for calculations must also be displayed. After that, the special function must be run with all the necessary input parameters. Finally, the values in the ADD and MUL variables must be displayed to check for the correct answers.
Creating Custom Functions for Multiple Returns
The Arduino Uno R4 Wi Fi board is a powerful microcontroller that can be used to create a variety of projects, such as a digital clock. To set up the time, a macro called timestamp is used to generate a string containing various details about the date and time. To make use of this data, a custom function was developed to parse the string and deconstruct it into distinct components such as hour, minutes, day, month, day of the week, and year.
Implementing the Custom Function
To implement the custom function, the string generated by the timestamp macro is first broken down into individual characters. Each character is then evaluated to determine whether it is a number or a letter. If it is a number, it is stored in a variable. If it is a letter, it is converted to its corresponding numerical value. This process is repeated until all the characters in the string have been evaluated and stored in variables.
Using the Parsed Data
Once the data has been parsed, it can be used to set the time on the clock. The variables containing the numerical values of the hour, minutes, day, month, day of the week, and year are used to set the time on the clock. The clock can then be used to accurately display the current time and date.
In this tutorial, we have learned how to create an Arduino function that returns multiple values. By using the return keyword, we can create functions that give us back the results of calculations or other tasks. This is a powerful tool for creating custom functions that can be used in a variety of projects.
Creating custom functions for multiple returns is an important skill for any Arduino programmer. By using the timestamp macro and a custom parser, it is possible to parse a string and deconstruct it into distinct components. This data can then be used to set the time on a digital clock. With the help of custom functions, Arduino projects can be made more efficient and accurate.


