


Arduino Bootloader Update or Install – Upgrade a Clone From Old Bootloader to New Optiboot!
Introduction
If you’re an Arduino enthusiast, you may have come across the term “bootloader” at some point. The bootloader is a small program that runs on the Arduino board and is responsible for loading the main sketch into the microcontroller. Upgrading the bootloader can bring about several benefits, such as faster upload speeds and compatibility with newer firmware. In this article, we will walk you through the process of upgrading the Arduino bootloader.
The Benefits of Upgrading the Optiboot Bootloader
Upgrading the bootloader on your Arduino can bring several significant benefits. Whether you have a genuine Arduino or a clone with an atmega chipset, the process is virtually the same. In this article, we will guide you through the steps to install the new optiboot bootloader, which is currently the standard for Arduino. This upgrade will not only fix known issues with the old bootloader but also enhance the performance and functionality of your Arduino.
Setting up the Programmer
Before we begin, you will need at least one working Arduino device to act as a programmer. Ideally, you should have a set of three devices, with one designated as the programmer and the other two to be upgraded. Start by setting up the programmer on a breadboard for convenience. By doing this, you can make the necessary connections easily and ensure a smooth installation process.
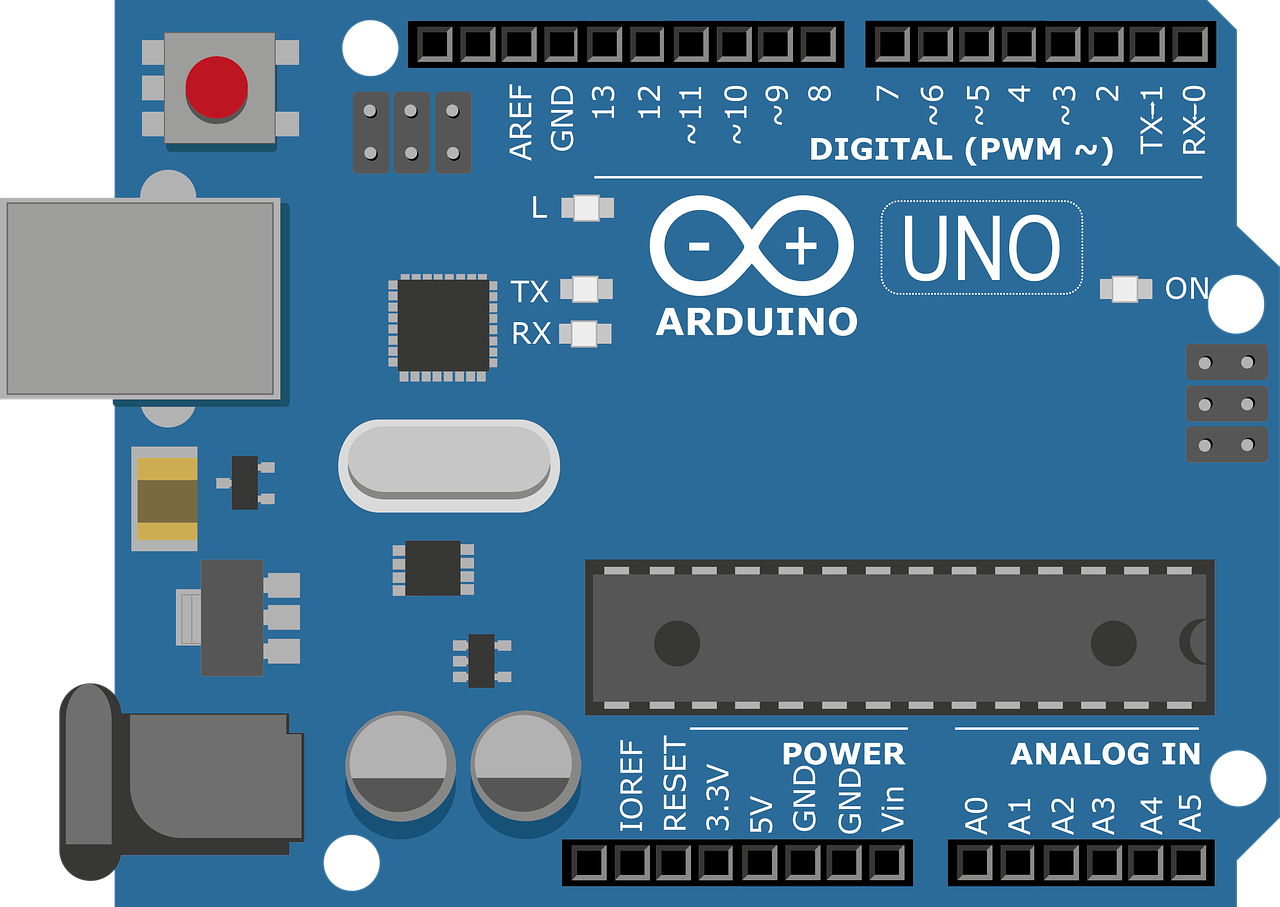
Wiring the Connection
To connect the programmer and the device to be upgraded, you will need jumper cables. If you frequently perform this task, it would be helpful to label the cables for easy identification. On one side, connect the cables to the in-circuit programmer pins of the programmer device. On the other side, connect the cables to the corresponding pins on the device to be programmed. For a visual guide, refer to the wiring diagram displayed on your screen.
The Advantages of the New Bootloader
Now that you have successfully set up the connections, let’s delve into why you should consider upgrading the bootloader. One of the main issues with the old bootloader is the watchdog timer, which occasionally resets the device unexpectedly. By installing the new optiboot bootloader, you can eliminate this problem and ensure the stability of your Arduino projects.
Furthermore, the new bootloader occupies less space in the memory, freeing up valuable resources for your sketches. This means you will have more room to develop complex projects without worrying about running out of memory. Additionally, the new bootloader allows for faster sketch uploads. You will notice a significant decrease in the time it takes to upload your code, enhancing your productivity.
Upgrading the Bootloader: A Faster Solution
The Need for a New Bootloader
The old bootloader operates at a mere 56k speeds, which can be quite cumbersome when trying to upload new software to our devices. However, with the introduction of a new bootloader running at 115k baud, the process becomes significantly faster and more efficient. In this article, we will explore how to upgrade our current bootloader to the new version, ensuring a smoother programming experience.
Setting Up the Programmer
To begin, we need to set up a programmer that will facilitate the installation of the new bootloader. We can achieve this by utilizing the ISP (In-System Programming) pins. Once these pins are connected, we can proceed with flashing the new bootloader onto our device. After successful flashing, we can replace our old bootloader with the new one.
Upgrading Multiple Devices
If we have multiple devices that require an upgrade, we can take advantage of the newly flashed arduino. By plugging it into the computer, we can utilize it as a programmer for our remaining devices. This ensures that all devices are operating on the newest firmware version.
Using the Arduino IDE
To utilize the newly flashed arduino as a programmer, we need to configure it through the Arduino IDE. By opening the IDE and navigating to “File” > “Examples” > “Arduino” > “ISP”, we can access the Arduino ISP sketch. This sketch allows us to set the first arduino as an in-circuit programmer.
Uploading the Bootloaders
Before we proceed, it is important to ensure that the correct board is selected in the Arduino IDE. We should also verify that we are using the appropriate com port for our old bootloader. Once these settings are confirmed, we can proceed with uploading the Arduino ISP sketch onto our arduino. This step effectively transforms it into a programmer that can upload the bootloaders onto our other devices.
The Burn Bootloader Option
While performing the upgrade, it is crucial to exercise caution when using the “Burn Bootloader” option under the “Tools” menu in the Arduino IDE. Choosing this option will burn the bootloader onto the next connected device, hence requiring us to select the appropriate target device before proceeding.
By following these steps, we can easily upgrade our bootloader to the new version, making the process of uploading new software to our devices faster and more efficient. With a high-speed baud rate of 115k, programming becomes a breeze, ensuring seamless operation and optimal performance.
Updating the Bootloader for Arduino Nano
Introduction:
Arduino Nano is a popular development board used for various projects. However, the default bootloader on the Nano is not always the one we want. In this article, we will discuss how to update the bootloader on an Arduino Nano to the new opti bootloader.
The Problem:
Communication Failure:
When we change the processor to the ATmega328, the Arduino IDE still communicates with the programmer Nano, assuming it has the new bootloader. As a result, it tries to communicate at a baud rate of 115k, which fails because the programmer is still on the old bootloader transmitting at 56k.
Edit the Boards Text File:
Locating the Text File:
To resolve this issue, we need to edit the boards text file used by the Arduino IDE. In Windows, you can find the file at this path. Under Linux, it is located elsewhere. Open the boards text file to proceed with the changes.
Find the Arduino Nano:
Scrolling down the boards text file, we will find the entry for Arduino Nano with an ATmega328P processor. This is where the bootloader file is defined. However, just below that, we can also see an entry for the 328P old boot motor, pointing to the old bootloader file.
Replacing the Bootloader:
Updating the Bootloader Path:
To update the bootloader to the new opti bootloader, we need to replace the section of code referring to the old bootloader with the code for the new one. This means replacing the entire section with the updated bootloader file.
Using Comments for Safety:
If you are concerned about overwriting things in the future, you can use double pound and a space to comment out the old bootloader section. This will ensure that the Arduino IDE ignores that part of the code.
:
By editing the boards text file for the Arduino IDE, we can instruct it to use the new opti bootloader when burning the bootloader for an Arduino Nano. This allows us to overcome the communication failure caused by the default old bootloader. With this simple update, we can ensure smooth and successful communication with the ATmega328P processor.
Upgrading the Arduino Bootloader: A Step-by-Step Guide
Copy and Modify the Bootloader
The first step in upgrading the Arduino bootloader is to copy the existing settings and make the necessary changes. To do this, locate the line of code that controls the bootloader settings and copy it. Then, paste this line underneath and modify it according to your needs. It’s crucial to keep the original line uncommented, as a safety measure. This way, if anything goes wrong, you can simply delete the new line and revert to the original settings.
Save and Restart Arduino IDE
After making the necessary changes to the bootloader settings, save the file. However, keep in mind that the changes will not take effect until you restart the Arduino IDE. Close the IDE and reopen it to force the changes into effect.
Choosing the Correct Programmer
Once the Arduino IDE is restarted, navigate to the “Tools” menu. Ensure that the correct programmer is selected for uploading the new bootloader. It’s crucial to choose “Arduino as ISP” instead of “Arduino ISP” to avoid any compatibility issues. Additionally, make sure that the appropriate bootloader file is being used.
Burn the New Bootloader
With the correct settings in place, it’s time to burn the new bootloader onto the Arduino board. Within the “Tools” menu, select the option to burn the bootloader. You should now see that the opti boot new firmware – the one you desired – is being used for the process. Once the burning is complete, you can proceed to the next step.
Testing the New Bootloader
To ensure that the new bootloader has been successfully installed, disconnect any ISP (In-System Programming) pins that were used during the burning process. Turn the board around and test its functionality by loading the blink script. Choose the ATmega328P with the new bootloader as the processor, compile the script, and upload it. If the upload is successful, you should notice that the baud rate for uploading the sketch has increased significantly.
Comparison with Old Bootloader
To highlight the difference between the old and new bootloaders, switch back to the board you initially used as a programmer. Attempt to upload the same blink sketch with the same settings as before. You’ll quickly realize that the upload fails. This failure is because the board is still using the old bootloader, which operates at a slower transmission speed of 56k. This stark contrast emphasizes the advantages of upgrading to a newer bootloader.
Upgrading Arduino Clones with the Optiboot Bootloader
Arduino clones have gained immense popularity due to their affordability and functionality. However, some clones come with a less efficient bootloader, resulting in slower processing. In this article, we will explore how you can upgrade your Arduino clone with the Optiboot bootloader, improving its performance significantly.
The Process
To begin with, we need to change the processor back to the old bootloader upload. Once this is done, you’ll notice a significant improvement in the functioning of your Arduino clone. Take note of the speed baud rate, which should be set at 57600.
In order to upgrade the bootloader, we will need the ISP programming sketch. Load this sketch back onto your Arduino clone and remove the board that you just upgraded. Connect the next board in line and turn on the bootloader. Finally, swap the boards around to ensure both clones have the new bootloader in place.
Replacing the Old Bootloader
Now, we have two Arduino clones with the new bootloader. However, the programmer clone still has the old bootloader. To rectify this, remove the old bootloader and connect the ISP headers. Insert one of the upgraded boards in its place, being cautious to align the pins correctly. Once again, make sure to reload the Arduino sketch onto the new board using the Arduino IDE.
To utilize the new bootloader effectively, change the processor to 18 Mega 328. Since you are no longer using the old bootloader upload, the Arduino ISP sketch, and burn bootloader, updating the processor is crucial for seamless performance.
Benefits and Applications
With the Optiboot bootloader installed, all three of your Arduino clone boards will function on par with a genuine Arduino Nano. The only notable difference is the use of the CH340 chip for USB communication. This upgraded bootloader also facilitates the programming of various Arduino clones that use the 18 Mega chips directly, making it a valuable tool for advanced users.
Loading the Arduino ISP sketch onto a board allows you to use AVR directly with another 18 Mega chip. This opens up a world of possibilities for those looking to experiment with more complex projects and advanced functionalities.
Why Arduino IDE is not the only option
Are you tired of using the Arduino IDE for programming your boards? Do you wish there was a more efficient and flexible way? Well, you’re in luck! In this article, we will explore why the Arduino IDE is not the only option and how you can break free from its limitations.
Advantages of alternative programming methods
Using the Arduino IDE may be convenient for beginners, but once you become more experienced, you may find it limiting. Here are some advantages of using alternative programming methods:
1. Increased flexibility
By using alternative methods, you have the freedom to choose your preferred development environment. Whether it’s using Visual Studio Code, Eclipse, or any other IDE, you can customize your workflow to suit your preferences and needs.
2. Enhanced features
Alternative programming methods often come with additional features that can boost your productivity. These features may include integrated debugging tools, code completion, and version control integration. By exploring different options, you can unlock powerful tools to streamline your programming process.
3. Better collaboration
When collaborating with other developers, using alternative programming methods can make the process much smoother. By using a version control system like Git, you can easily share and merge code changes, making teamwork a breeze.
How to break free from the Arduino IDE
If you’re ready to explore alternative programming methods, here’s a step-by-step guide on how to break free from the Arduino IDE:
1. Set up your programmer board
In order to use alternative programming methods, you will need a programmer board. This board acts as a bridge between your computer and the Arduino board you want to program. Follow the instructions provided by the manufacturer to set up your programmer board correctly.
2. Install the required software
Once your programmer board is set up, you need to install the necessary software on your computer. This could be a different IDE or a command-line tool depending on the method you choose. Visit the official website of your preferred alternative method and follow the installation instructions.
3. Connect your programmer board
Connect your programmer board to your Arduino board using the appropriate cables. Ensure that the connection is secure and double-check the pin configuration if needed. This step is crucial for establishing a reliable connection between your computer and the Arduino board.
4. Compile and upload your code
With the alternative programming method in place, you can now compile and upload your code to the Arduino board. Follow the instructions provided by the software you are using to ensure a successful upload. Don’t forget to verify your code before uploading to avoid any potential issues.
5. Enjoy the freedom
Once you have successfully uploaded your code to the Arduino board using the alternative method, you can enjoy the freedom of using a more flexible and feature-rich programming environment. Experiment with different tools and techniques to unleash your full coding potential.
Upgrading the bootloader on your Arduino to the optiboot bootloader brings numerous advantages and resolves known issues with the old bootloader. By following the steps outlined in this article, you can easily install the new bootloader on both genuine Arduino devices and clones with atmega chipsets. Take advantage of the increased stability, improved memory usage, and faster sketch uploads that come with the optiboot bootloader. Upgrade your Arduino today to unleash its full potential.
Upgrading the Arduino bootloader can unlock faster upload speeds and improved compatibility with newer firmware. Although the process may seem daunting at first, by following the step-by-step guide outlined in this article, you’ll be able to successfully upgrade the bootloader on your Arduino board. So, go ahead and take advantage of the enhanced functionality
Upgrading your Arduino clone with the Optiboot bootloader not only improves its speed and performance but also allows you to explore more advanced programming options. By following the simple steps outlined in this article, you can transform your Arduino clone into a powerful and versatile device, expanding your possibilities in the world of electronics.
Breaking free from the Arduino IDE can open up a whole new world of possibilities for your


